

This short guide explains how to identify and address a common problem with home keyboards.
Pianos and synthesizers often accumulate dust, which affects their springs and electronics. This can cause keys to stick or stop producing sound.
In many cases, a careful cleaning is enough. The disassembly process is similar across brands, but you need to identify the screws that hold the covers in place and leave the structural screws alone.
This article explains, step by step, how to identify the problem, prepare your workspace and document each stage so you can reassemble everything correctly.
You will learn when to work on the instrument yourself and when to consult a professional, especially if it is under warranty. We also list useful tools and precautions to protect your keyboard and extend its life.
Before you begin: safety, warranty and essential tools
Do not begin any work until you have checked the warranty and gathered the right tools. This simple step prevents complications and protects the value of your instrument. Check the documents supplied by the manufacturer or authorized seller before opening it.
If the instrument is covered, use after-sales service instead of taking it apart at home. Speaking with a professional may preserve your warranty and provide useful technical information.
Check the warranty and decide what to do
- Check the model details: model number, serial number and year. You will need this information when ordering parts.
- Assess your comfort level: the keyboard’s value and the nature of the problem will help you decide whether to attempt the repair yourself or call a professional.
- Consider safety: if you are unsure, consult a technician.
Prepare a stable work surface and containers for the screws. Stand the keyboard on its edge to reach the lower cover easily. Identify the screws holding the parts together and leave the structural screws in place.
For cleaning, have a vacuum cleaner set to low power for the felt and a can of compressed air for the circuit board. The air helps limit electrostatic effects and avoids damaging delicate components.
“If you have any doubt, it is better to arrange for a professional to work on the instrument than to risk an irreversible mistake.”
Diagnose a key problem before disassembling the keyboard
Start by recording exactly how the affected key behaves before doing anything else. This quick observation helps determine whether the problem is mechanical or electronic.
Common signs: a key that stays down, returns slowly, produces no sound or plays the wrong note. Do not press harder, as this could make the problem worse.
- A slow return, unusual noise or sticking → suspect the keyboard’s mechanical parts: springs, felt or debris.
- An intermittent or silent note → first examine the electronics and check the sensors for dirt.
- A problem limited to the low or high keys → check the affected area for deposits or worn springs.
Record precisely which keys are affected and under what conditions: when the instrument is cold, after playing, or when you press firmly. This information helps you address the problem more precisely.
Consult the manual for the access procedure and test the instrument through headphones, then through its speakers, before opening it. For other owners’ experiences, see this discussion: user experiences.
Tip: write down these observations and avoid rough handling.

| Symptom | Likely cause | First step |
|---|---|---|
| Stuck key | Dislodged spring or debris | Inspect the mechanism and record the position of its parts |
| Intermittent note | Dust on the sensor | Test the sound, do not force the key and clean gently |
| Silent key | Electronic fault | Test with headphones, check the connections and consult the manual |
Repair a digital piano key: step-by-step solutions
First step: disconnect the power and stand the instrument on its edge on a soft surface. This makes the lower cover easier to reach and protects the case.
Accessing the keyboard: remove the cover screws methodically. Record their positions; some are longer and must go back in the same places.
Initial cleaning
Gently vacuum the felt to remove dust without rubbing it. Then use a can of compressed air on the electronics to dislodge particles without pulling off a component.
Opening the top cover and taking precautions
Return the keyboard to its normal position and slide the top cover from front to back. If it resists, check whether you have missed a screw.
Internal checks
Remove the screws connecting the keyboard to the main board, usually four to eight depending on the model. Carefully disconnect the ribbon cables and take photos to help with reassembly.
“Label the cables and screws: this simple step reduces mistakes during reassembly.”
| Stage | Action | Precaution |
|---|---|---|
| Positioning | Stand the instrument on its edge | Use a soft surface and unplug the instrument |
| Lower cover | Remove the screws and lift off the cover | Record where each screw belongs |
| Cleaning | Use a low-power vacuum cleaner, then compressed air | Do not use the vacuum cleaner on circuit boards |
| Connections | Remove the mounting screws and disconnect the ribbon cables | Take photos and label everything |
Restore the keys and springs of a digital keyboard
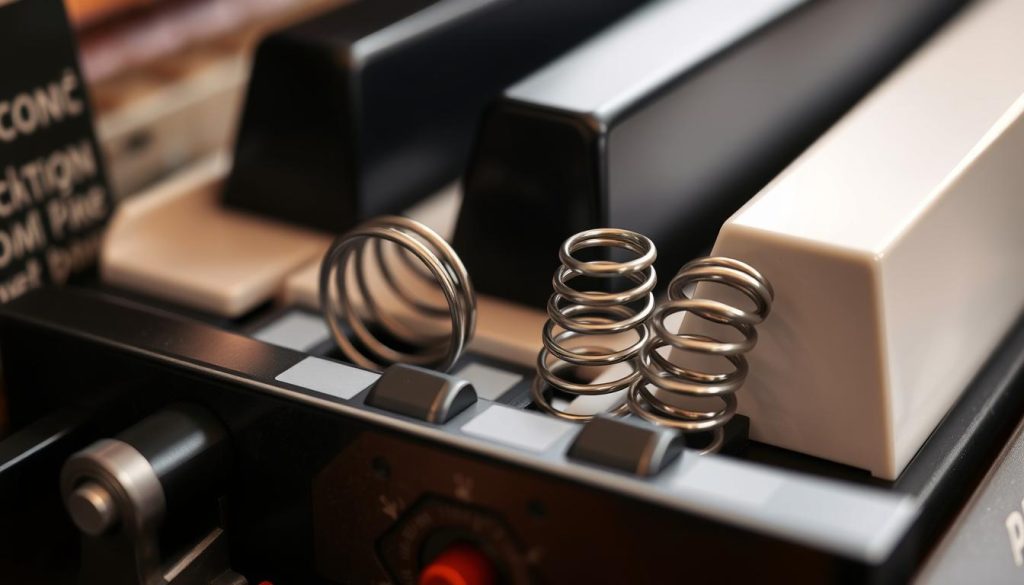
To reach the springs, turn the instrument over and remove the protective board. You can then see the coils that return the keys after they are pressed. Inspect each spring: if it is bent, out of position or broken, reseat or replace it.
Repositioning and swapping: for a quick repair, use a sound spring as a reference. Swap springs from lightly used areas with those in worn areas, or gently straighten a coil to match its original angle.
Unclipping a part: lever it from above to release the tab, then pull it upward without forcing it. Check inside for dirt, grimy pivots or worn felt, and clean before reassembly.
Practical tips and when to call a professional
- If a spring cannot be repaired, order a replacement individually, noting the keyboard’s brand and model number.
- For a key wedged between other keys, insert a flathead screwdriver just slightly and turn it carefully with the cover open.
- Call a professional if several keys are affected, the keyboard mechanism is cracked or the work involves the electronics.
Tip: gather your photos and model details before calling a professional to speed up diagnosis and parts ordering.
For owners’ experiences and technical discussion, see this thread: problems with certain keys.
Conclusion
Try simple maintenance before attempting more extensive work.
In most cases, targeted cleaning and reseating the springs restore the keyboard’s operation. This applies to many home pianos and synthesizers.
If the covers or circuit board are difficult to access, or the problem persists after your attempts, take the instrument to a specialist. Provide its model number, describe the symptoms and include photos to save time.
Always record useful information: the model, the steps you took and photos. Regular maintenance limits dust buildup, extends the life of your digital keyboard and lets you enjoy playing it for longer.