
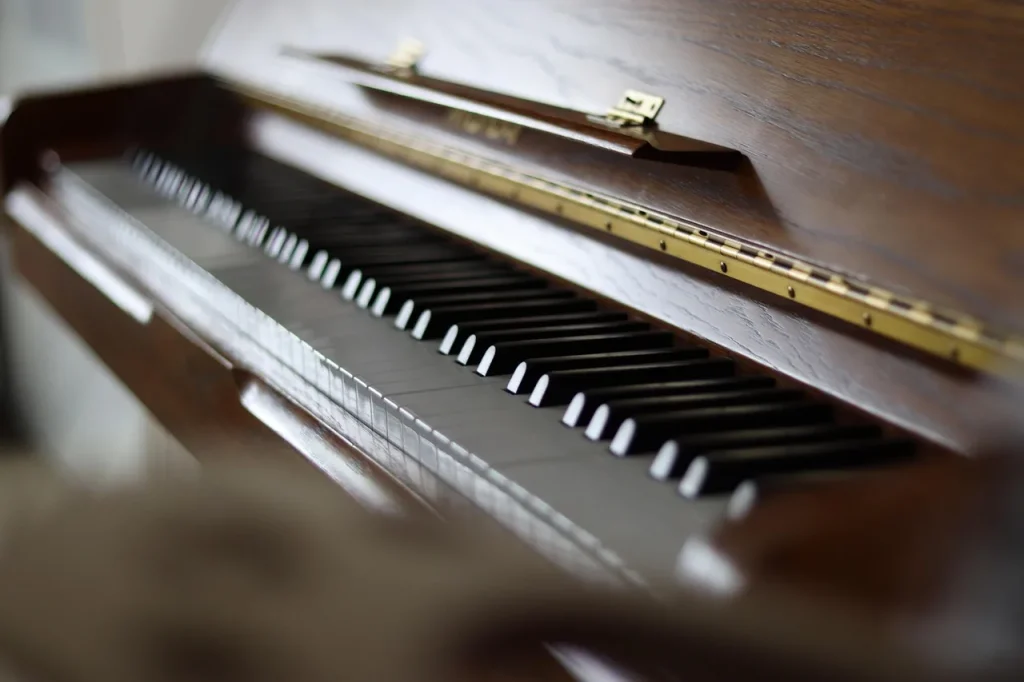
This guide explains how to protect an electronic instrument and keep it performing well over time. Regular maintenance can extend its life to 10 to 20 years, preserve a consistent feel and help prevent costly breakdowns.
In this article, you will find the essential steps: prepare your workspace, choose gentle products, clean the surfaces and keys, maintain the ports and manage the surrounding environment. The guide covers everything from simple dusting to more thorough techniques.
It recommends products suitable for keyboards and established methods for protecting finishes and sensors. Avoid alcohol and ammonia, as well as thick covers that trap moisture.
Keep the temperature steady between 18 and 24 °C and relative humidity between 40 and 60% to limit dust and oxidation. For practical guidance on humidity and temperature, see the manufacturer’s piano care advice.
Understand the purpose and scope of this guide
This guide provides a clear way to preserve your instrument’s reliability and sound quality over the long term.
Goal: extend its life and preserve sound quality
The aim is to provide a step-by-step approach to keeping the instrument reliable and enjoyable to play. These principles apply to several related types of instrument, particularly their keyboards, controls and connectors.
Common risks of poor maintenance
Neglect can quickly lead to practical problems. Dust and moisture make keys less responsive. Unsuitable products leave marks on screens and damage finishes.
- Oxidized contacts → silent notes, delays and velocity errors.
- Dirty USB/MIDI ports → crackling and lost connections.
- Thick covers → internal condensation and corrosion.
| Problem | Cause | Consequence |
|---|---|---|
| Sticky keys | High humidity | Reduced responsiveness |
| Crackling ports | Dust and oxidation | Unstable connection |
| Distorted sound | Poor electrical contacts | Costly repairs |
Scope of the guide: simple daily care, periodic maintenance and the limits to observe to protect your warranty. Following a maintenance routine can extend the instrument’s life to 10 to 20 years, reduce breakdowns and improve its resale value.
Prepare your workspace and make the instrument safe
Before doing any work, switch off the instrument and carefully unplug every cable. Remove pedals, adapters and USB drives so they cannot pull on the ports.
Switch off, unplug and remove accessories
Step by step: switch off the power, remove the power adapter, then disconnect the cables. Put connectors and port caps in a separate container so you do not mix them up.
Protect the electronics and organize the workspace
Work on a clean, stable, well-lit surface. If the furniture has a lacquered finish, put protective material beneath the instrument to prevent scratches and slipping.
Keep liquids away from ventilation openings. A short burst of air from a distance can dislodge dust without driving it farther inside.
Gather the essential tools
Prepare an antistatic microfiber cloth, a spare dry cloth, distilled water to lightly dampen the cloth, and a soft-bristled brush.
Avoid powerful vacuum cleaners, which could damage sensors. Always keep a cloth nearby to wipe up any accidental moisture.
Recommended tools and products for safe cleaning
Suitable products let you care for sensitive surfaces safely.
Gather a lint-free antistatic microfiber cloth and a spare soft cloth. Add suitable antistatic wipes and a soft-bristled brush for narrow spaces.
Make a simple solution by diluting a few drops of neutral soap or Marseille soap in distilled water. Dampen the microfiber cloth very lightly, then wring it out so it cannot drip.
Using a can of compressed air
Hold the can of compressed air 20 to 30 cm away. Short bursts and an upright can help prevent condensation. Avoid continuous spraying near sensors.
| Product | Use | Benefit |
|---|---|---|
| Microfiber cloth | Dusting and wiping | Antistatic and lint-free |
| Antistatic wipes | Surfaces and controls | Gentle, alcohol-free formula |
| Specialist kits | Keys and covers | Nonabrasive formulas suited to sensitive components |
Warning: avoid silicone polish, alcohol and ammonia. Label the bottles you reserve for keyboard care so they are not confused with other products.
Clean the outside of the digital piano
A simple routine protects the finish and limits dust buildup. Work methodically to preserve the instrument’s surfaces and appearance.

Dust surfaces and covers with an antistatic cloth
Start by dusting the less visible areas so you do not bring dust back onto the front panels. Use a dry microfiber cloth or one very lightly dampened with water.
Wipe the covers with gentle, straight strokes. Clean the sides and back to keep dust from returning to the front.
For slots and rotary controls, use short bursts of dry air from a distance. Never put the nozzle close to an opening.
Avoid harsh household cleaners, alcohol and ammonia
Never use: alcohol, ammonia or window cleaner. These products dull and weaken plastics.
Avoid abrasive paper towels, which scratch matte finishes. Always finish by wiping with a clean, dry cloth to remove streaks and give the covers an even appearance.
Clean the keyboard keys safely
Each key needs gentle, precise cleaning to maintain an optimal response.
Simple routine: first remove dust with a dry microfiber cloth. Then wipe with a well-wrung-out slightly damp cloth moistened with distilled water, making sure nothing drips.
Treat sticky keys
For sticky keys, make a very dilute solution with a few drops of neutral soap in water. Dampen and wring out the cloth, dab each key, then dry it immediately.
Cleaning techniques and precautions for different finishes
Always wipe along the length of each key to avoid pushing moisture between the keys. Switch to a clean part of the cloth often so you do not spread dirt around.
“Never spray liquid directly onto the keys.”
Avoid: alcohol, ammonia, bleach and acids. If you play frequently, visually check the keys each week.
Reach the spaces between keys and other delicate areas
In narrow spaces, technique matters more than force. Work patiently with soft tools so you do not push dust beneath the mechanisms.
Soft-bristled brush: use a soft antistatic brush to lift dust from between the keys. Make light, controlled strokes across the length of the keys to avoid pushing dust farther down.
Edges and corners: dry cotton swabs
Use dry cotton swabs to reach seams and trim. Never force them into place; dab gently and change swabs often so you do not spread dirt around.
Compressed air: distance and upright position
Keep the can of compressed air about 15 cm away. Hold it upright and use short bursts with pauses between them. This limits condensation and protects the sensors.
- Avoid metal or rigid tools that could scratch or strip the finish.
- Work on small sections of the keyboard to control displaced dust.
- Do not blow directly beneath covers or toward the speakers.
Finish with a very light wipe using a microfiber cloth to collect any remaining particles.
For detailed advice on cleaning the keys, follow the dedicated procedure.
Screen, wheels, sliders and controls
Sensitive surfaces call for careful cleaning. A suitable method prevents streaks, hazy marks and moisture intrusion that can damage anti-reflective coatings.
LCD/LED screen: apply a suitable cleaner to a clean microfiber cloth, never directly to the screen. Wipe gently without pressing to remove fingerprints and dust. Choose a formula suitable for LCD/LED screens and avoid alcohol, which can damage coatings.
Wheels and sliders: clean around them with a dry cotton swab. Keep liquids away from slots to prevent seepage. If a slider sticks, do not force it: clean it gently again and move it several times to loosen the dust.
Reserve a soft cloth for the controls so dirt from the covers does not transfer to them. Periodically turn or operate buttons, encoders and rotary controls to limit dust buildup and oxidation.
| Part | Recommended method | Avoid |
|---|---|---|
| Screen | LCD screen cleaner on a microfiber cloth; wipe lightly | Direct spraying, alcohol |
| Wheels | Dry cotton swab around the shafts; operate regularly | Forced rotation, liquids in slots |
| Sliders | Gentle cleaning and repeated movement | Sudden pulling or pushing |
Connections, ports and power supply: care for the components
Regular care of the sockets and power adapter protects the electronics. Always work with the instrument switched off and unplugged.
Disconnect and reconnect periodically
Refreshing the contacts helps limit oxidation: disconnect and reconnect MIDI, USB and audio cables at regular intervals. This simple step can help prevent poor connections and unwanted noise over time.
Clean the ports
First use compressed air from 15 to 20 cm away to remove dust. Then use a dry cotton swab to collect fine particles. Stop if you feel resistance, and never force a connector into a port.
Power adapter and cable condition
Inspect the power adapter and cable regularly. Avoid bending the cable sharply, coil it loosely and store the adapter away from heat. Unplug the instrument after an extended session to help preserve its life.
A precaution about alcohol: isopropyl alcohol may be used sparingly on metal connectors only. Never apply it to plastics, keys or other surfaces.
Test the MIDI, USB and audio ports periodically for unstable connections. For further advice, see this digital instrument care guide.
Manage temperature, humidity and light
Regularly checking the indoor environment prevents many technical and cosmetic problems. A few practical guidelines reduce risks to the mechanical and electronic parts.
Recommended ranges: 18 to 24 °C and 40 to 60% humidity
Keep the temperature between 18 and 24 °C and monitor humidity with a hygrometer. Aim for 40 to 60% relative humidity to protect the electronic components and the mechanism.
Tip: a small hygrometer near the instrument helps you spot changes early.
Breathable dust covers and thick blankets
Choose a breathable antistatic cover. It allows air to circulate while protecting the instrument from dust.
Avoid: thick blankets that trap moisture and encourage condensation. They increase the risk of contact oxidation.
Avoid direct sunlight and sudden temperature changes
Strong light damages plastics, anti-reflective coatings and finishes. Keep the instrument away from windows and radiators.
After transporting it, let the instrument adjust to room temperature before switching it on. This reduces the risk of internal condensation.
“A room with stable temperature and humidity helps pianos last longer and protects their components.”
- Guidelines: 18 to 24 °C and 40 to 60% relative humidity.
- Choose a breathable cover instead of a thick blanket.
- Avoid sunlight, radiators and sudden temperature changes.
A care routine after every use
After every session, a simple action prevents dirt buildup and preserves the feel of the keys. Wipe the keyboard and covers with a dry microfiber cloth to remove fresh dust and fingerprints.
Then put a breathable antistatic cover back on immediately. This protection slows the return of dust without trapping moisture.
Store the instrument horizontally on a stable stand, away from heat sources and dusty openings. Switch it off and unplug it if you will not use it for a while.

- Keep a cloth reserved for this purpose nearby to make daily care easier.
- Visually check the keys and keyboard for localized dirt.
- One minute is often enough; add a more thorough weekly cleaning.
“A short, regular routine protects the electronics and keeps the keys feeling consistent.”
Maintain digital piano software and firmware
Checking the software and firmware regularly helps prevent operating problems.
This guide covers good practices for updates, backups and resets.
Updates: check the manufacturer’s website for firmware and release notes. Download official files and follow the instructions for your model to apply fixes safely.
Backups: export presets, styles and configurations to a USB drive or SD card, or use the editing software. Back up your data before any major change to prevent data loss.
Update drivers and reset the instrument
Keep your interface drivers and music production software integrations up to date to maintain a stable connection with your computer.
If a problem persists, a factory reset may solve it. Back up your data first and consult the manual for the procedure specific to your model.
| Action | When | Why |
|---|---|---|
| Check firmware | Every month or before an important session | Fixes and new features |
| Back up data | After creating presets | Prevent data loss |
| Update drivers | After an operating system update | Maintain compatibility with music production software |
“Keeping a record of use and software versions helps you return to an earlier working state.”
How to deep-clean and maintain a digital piano
When to deep-clean: more thorough cleaning may be justified if keys still stick after routine care, their response becomes uneven or dirt is embedded.
Know your limits: never expose the circuits more than necessary. Follow the manufacturer’s manual and stop if the procedure exceeds your skills.

Limited disassembly and specialist kits
Choose professional keyboard care kits. Their nonabrasive products are gentler on sensors and finishes than improvised mixtures.
Drying, reassembly and checks
Clean accessible areas dry or with a cloth very lightly dampened with water. Keep liquids away from sensors and use a soft bristle brush for stubborn residue.
Allow approximately two hours of indirect ventilation for drying before reassembling the instrument. Never use direct heat, such as a hair dryer or radiator.
“Photograph each step and keep screws and covers in order to make reassembly easier.”
- Test every key, then check its response with MIDI software to detect delays or irregularities.
- Use compressed air from a distance in short bursts.
- Consult a technician if you suspect moisture has entered the instrument.
Common mistakes to avoid and good practices
One wrong move can be expensive. A few simple rules help prevent oxidation, poor contacts and surface damage.
Products to avoid: keep bleach, harsh solvents, abrasives and silicone polish well away from the instrument. Do not apply alcohol to its surfaces either. These products dull finishes, make buttons slippery and can damage internal components.
Trapped moisture, dust and poor ventilation: risks and solutions
Thick blankets retain moisture and encourage condensation, which can oxidize contacts and corrode circuits.
Choose a breathable antistatic cover and a ventilated room with stable humidity. A small hygrometer near the instrument helps you anticipate changes.
Transport and storage: covers, flight cases, position and vibration
During transport, use a rigid flight case or padded cover with protection against vibration. Store the instrument horizontally in a room with a moderate temperature, and let it adjust to room conditions before switching it on.
| Common mistake | Consequence | Good practice |
|---|---|---|
| Using abrasives or silicone | Dulled finishes, slippery controls | Microfiber cloths and suitable products |
| Using thick blankets | Trapped moisture → oxidation | Breathable antistatic cover |
| Forcing in a connector | Bent pins, damaged port | Never force it; check alignment |
Practical reminders: do not place heavy objects on the keyboard, never force plugs into ports and wipe the instrument regularly to limit dust. Preventing buildup is always preferable to costly disassembly.
For more advice and a simple checklist, read this digital piano care guide.
“Suitable protection and regular care help instruments last longer.”
When to call a professional
Some symptoms call for professional attention. If routine maintenance does not solve a problem, stop working on the instrument and seek advice.
Warning signs
- Inconsistent key response, delays, silent notes or mechanical clicking.
- MIDI/USB ports that fail, pedals that are not recognized or a flickering screen.
- Unwanted noise from the audio outputs or keyboard problems despite thorough cleaning.
These signs may indicate misaligned sensors, advanced oxidation or an electronic fault in the components. Do not lubricate anything yourself: lubricant can contaminate optical sensors and contacts.
Practical advice: take the instrument to an authorized technician. Give them a precise history of the symptoms and your cleaning attempts. This speeds up diagnosis and protects the warranty.

Conclusion
Two to five minutes of regular care are enough to preserve a digital piano’s responsiveness and appearance.
To recap: prepare your workspace, choose gentle products, dust frequently and wipe marks away promptly before they build up. Cleaning should be restrained, particularly when you clean the piano and clean the keys: use air from a distance and distilled water when needed.
After every use, replace the breathable cover, check the keys and ports, and set a monthly reminder. Firmware updates and regular backups also help keep the instrument reliable.
A few minutes of care after each session can prevent major repairs and preserve the pleasure of playing.